Architectural renderings bridge the virtual world with reality. Modern technology and software advancement has brought architectural renders closer to reality now more than ever before. The goal is to show a realistic depiction of the project or building. To create a “perfect” visualization (architectural render). In order to achieve this, knowledge of the design and construction process of buildings is required, in addition to having an understanding of modeling, simulation, and the rendering process. These changes paint a bright future for young architects. It is crucial to update your experience and information on the latest technology as it becomes available. Here we have compiled a guide with tips for creating professional architectural renderings :
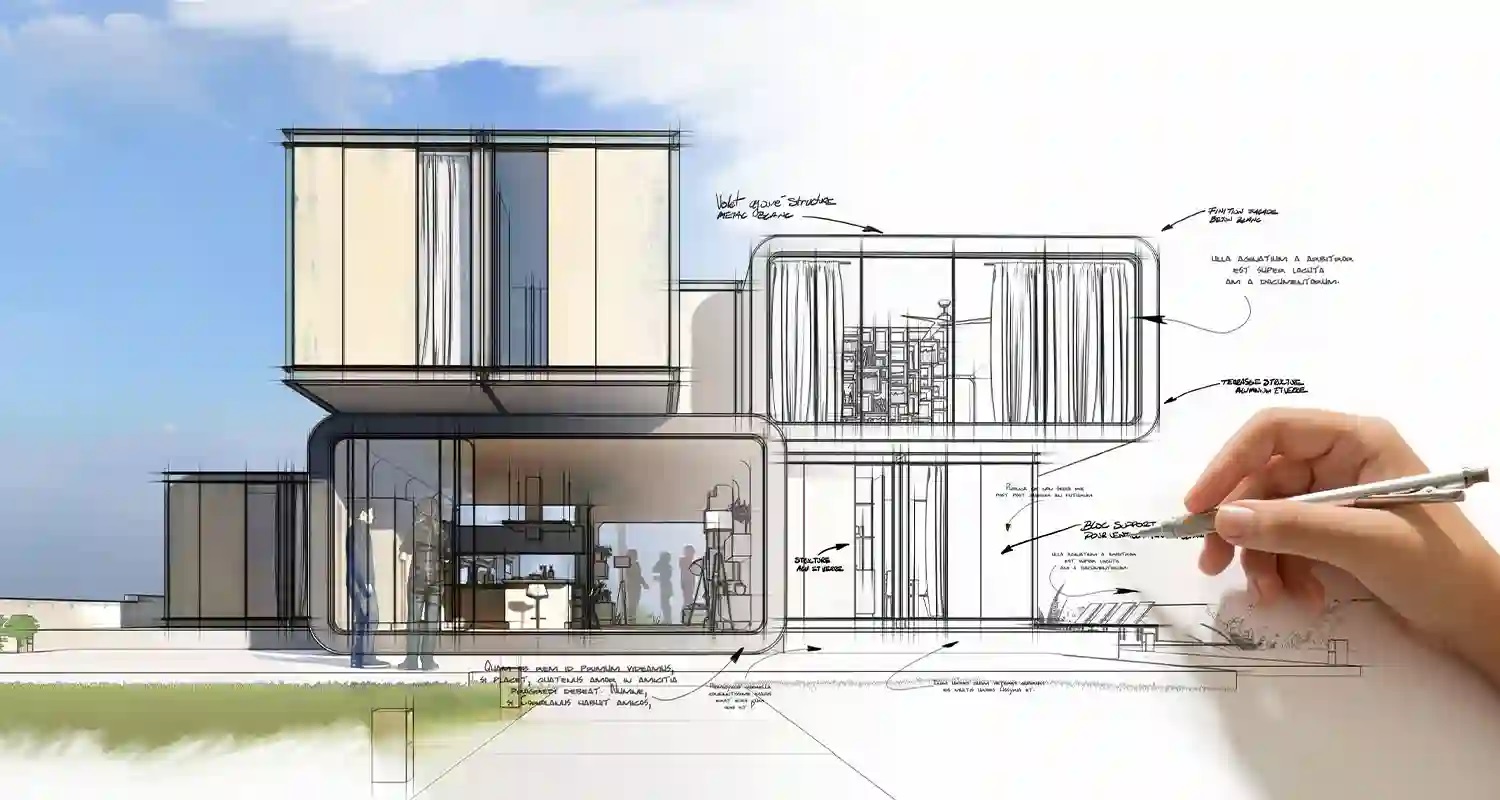
1. Sketch
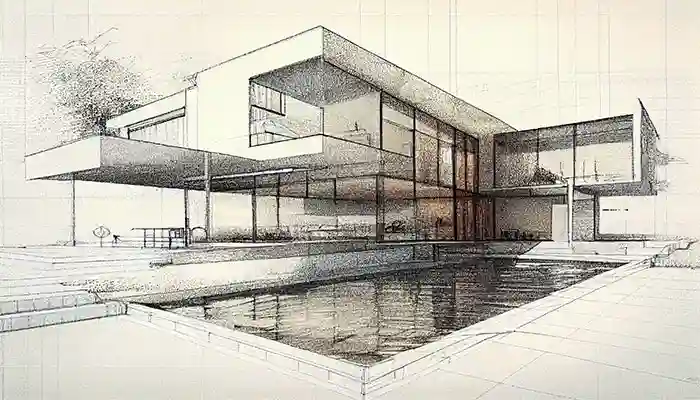
The first tip is to sketch. The sketch is a foundation of professional architectural renderings. If you can draw the desired space to match your main idea, you will have successfully conquered one of the most important parts. The sketch helps to focus attention on to the essential and valuable parts of the project. By doing this, it ensures the final rendering created will be in line with your vision. So focus on the sketch before you start the rendering process.
2. Pay Attention to the Focal Point
One of the most vital steps of creating a professional rendering is to pay attention to the focal point of the visual. It is ideal to place the focal point in the main field and the complementary points in the foreground and background of the image. You can also highlight your focal point in different ways – such as changing the lighting. This way, the viewer is drawn to this point.
3. Professional Lighting
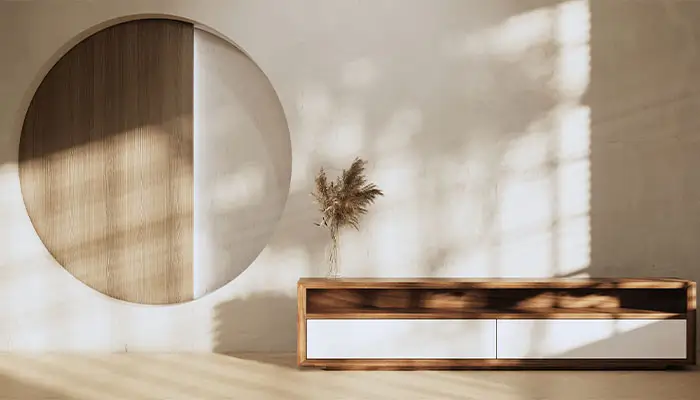
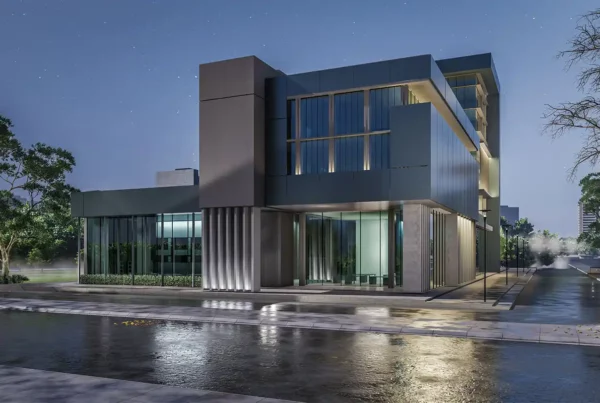
To create professional architectural renderings, you must master lighting techniques. The lighting should look authentic. Whether it is natural sunlight or artificial (i.e. a lamp), the intensity and angle of the light should feel and appear real. Light is one of the distinguishing factors between a good and a bad rendering. Unprofessional lighting makes things look unrealistic.
The best way for accurate and professional lighting is first to know your light source(s). It is then important to decide the time of day, light intensity, heat and position of objects. Try to convey a true visual of what it would look like in reality. Two software applications that are helpful to use in the lighting stage are Vray and Corona. The more time spent learning how to master professional lighting, the better the results.
4. Do Not Be Afraid of Shadows
Another detail that you must pay attention to are the shadows. Shadows are a design element in architecture and help to make architectural design visuals look alive. Professional artists use shadows in their renderings to show contrast and to make objects look more realistic. Tip: Try not to use large light sources. They will destroy shadows and your focal point will disappear into a bright light.
5. Correct Leveling
Whenever you can ensure your visual has proper leveling. This detail makes sure the result will be more realistic. You have to identify the “main character” of your space and introduce supporting roles to direct this. Place each of them on different levels. For example, put the main character in the main field and the supporting roles in the background.
6. Get Inspired by Nature
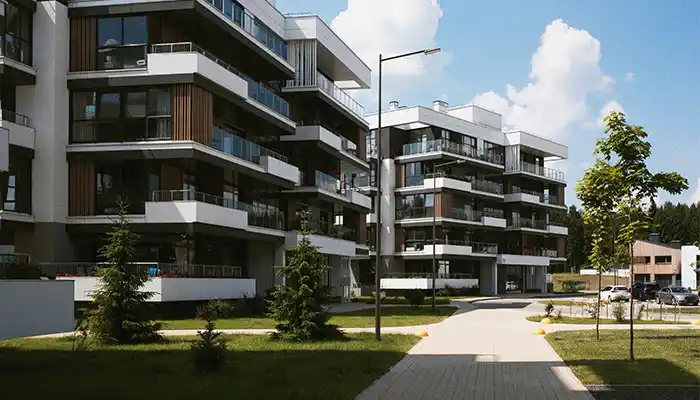
To create realistic architectural renderings, you must take inspiration from nature in real life. Exterior renderings should include greenery, sky, ground, and realistic trees should be incorporated. A natural environment contained within the rendering should be consistent with reality. Use them sparingly.
7. Use an Appropriate Color Palette
Colors give life to spaces. If you don’t select colors correctly, your image will appear artificial and unrealistic. It is ideal to select your color palette in advance and use more neutral tones as much as possible. Therefore, it is advised to study color psychology to create professional architectural renderings.
8. Good Modeling
Correct and accurate modelling is the foundation of a good architectural rendering. If your model has defects, the rendering output will differ from your vision tremendously. Therefore, to have a high-quality rendering, double check all the details of the model – this includes the layers, components, and blocks – before proceeding with the rendering.
9. Choose Texture and Material Carefully
Always have a library of different textures and materials at your fingertips. Understanding the various materials options and textures will help to guide you while using them. The closer the match of the texture you choose to the desired object, the more realistic the object will look.
To create a professional architectural rendering, carefully consider the materials and textures of objects before choosing them. Consider glossy vs matte, smooth vs scratched surfaces and reflection vs refraction. It is important to select the texture and material closest to its appearance in reality and use it.
10. Model Objects Realistically
To get closer to reality, you must model the objects as realistically as possible. Objects play a significant role within architectural renderings, the more detailed the elements you include in the modeling, the more realistic your rendering will look.
11. Add a Little Mess to Renders
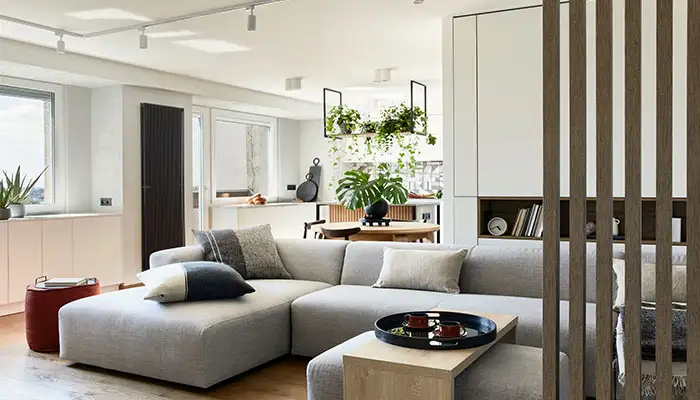
It doesn’t look relatable if everything is in its place. It is best to create a little “mess”. For example, a blanket hanging next to the bed, toys scattered on the floor, cushions placed naturally on the couch, or position fruits and vegetables on the stove ready to be added to a recipe. You are then able to then bring these elements to life in your renderings and add a connection to the viewer.
You can also use surface defects. For example, the presence of dust on a table, fingerprints on a mirror, and footprints on the stairs significantly impact the viewer and allows them to envision themselves within the space.
12. Choose the Correct Scale for Objects
One of the details that will turn your renderings from amazing to poorly executed is adding objects with the different size scale. Elements such as trees, cars, people, and birds are essential in exterior renderings – if these appear too small (or too large), they change the way a viewer reacts to the image. For interior renderings, this is true of objects such as furniture, lampshades, vases, etc.
It is better to construct the correct scale of objects and prepare a database to use across projects. Using this database will eliminate the need to remeasure items when you would like to use them.
13. Choose the Rendering Angle
Angles that capture your focal point and display it in the best possible way is what artists strive to achieve. Try to render at different angles so the viewer can imagine the details and then select the key “hero” angles that best showcase the project.
It is important to set the camera angle as realistic as possible to create a professional architectural rendering. For example, humans usually see everything at a height of fewer than 2 meters. Therefore, choosing a height from the ground to the height of an average person is recommended. In this way, the viewer’s mind does not fall into error. One of the essential points is paying attention to choosing the focal length and complying with the standard limit. Try to set the focal length of the lens between 16-50mm for indoor spaces and between 30-100mm for outdoor spaces.
14. Pay Attention to the Details
All the points listed above indicate that all the little details are very important in architectural renderings. Paying close attention to details from the choice of texture, materials, amount of light, camera angles to dust on the surfaces can improve the quality level of your rendering.
Look carefully at professional architectural renderings. They all have small details that you may have not noticed immediately. Water droplets in the kitchen sink, steam on a mirror, dry leaves on the street, a bird sitting on an wire, etc., – these all create an image of reality for the viewer.
15. Work with your Imagination
Your imagination is your strength, don’t underestimate it. A professional architectural rendering is not just an image that looks real. It is the feeling you give the viewer, and the story you tell that are significant. You can take the viewer with you into your imagination.
16. Use the Best Software
There are many different software available on the market that have been developed for this purpose and more are being developed every day. Software include SketchUp, Revit, Rhino, 3D Max, Blender, V-ray and Lumion. But it ultimately depends on your skill with the selected software that determines the end result. Therefore, we recommend that you master whatever software decide to use.
17. Post-Processing
Post-processing is the final step. Renderings can only be great with post-production. Post-processing is the work done on a 3D render after it’s completed, usually outside of the 3D software package in editing software like Adobe Photoshop for images or Adobe After Effects for videos. Important to know Post-processing is used predominantly for one reason: to fix minor errors in a long render.
This is our final tip for creating a professional architectural rendering – do post-production. see our work
Conclusion
In this post, we tried to provide tips to help you create professional architectural renderings. As mentioned, all of the above tips are required when creating good and realistic renderings. We hope that by using these tips, you will improve your work and become an artist that aligns with your architectural visualization!
Qoo Studio allows you to showcase your development to buyers prior to construction. Our virtual tours provide buyers with visualizations of the surrounding environment, exterior and interiors of the project – for both residential and commercial projects. This is modern pre-construction marketing.
Contact us today to schedule a free consultation or inquire about an upcoming project you have! We can be reached by telephone (416-200-0988) or email. A member of our team will get back to you as soon as possible – we look forward to meeting you.


